
Today I felt like doing a little sewing, so me and my little buddy pulled out the collection of old bed sheets we cleaned out of the closet earlier this week. We love bed sheets around here they great for every thing from forts and table cloths to rugs and Halloween costumes.

We found one with one of those snazzy boarders on it and thought it would look good along the bottom of the apron.
P.S. this would be easier with a yard stick if you have one.

My rectangle is about 36 inches wide and 16 inches long. the belt/ties are about 6 feet long and 6 inches wide.

Next I added a pocket nothing fancy, just a plain square pocket. All so added a double run of gathering stitches along the top.
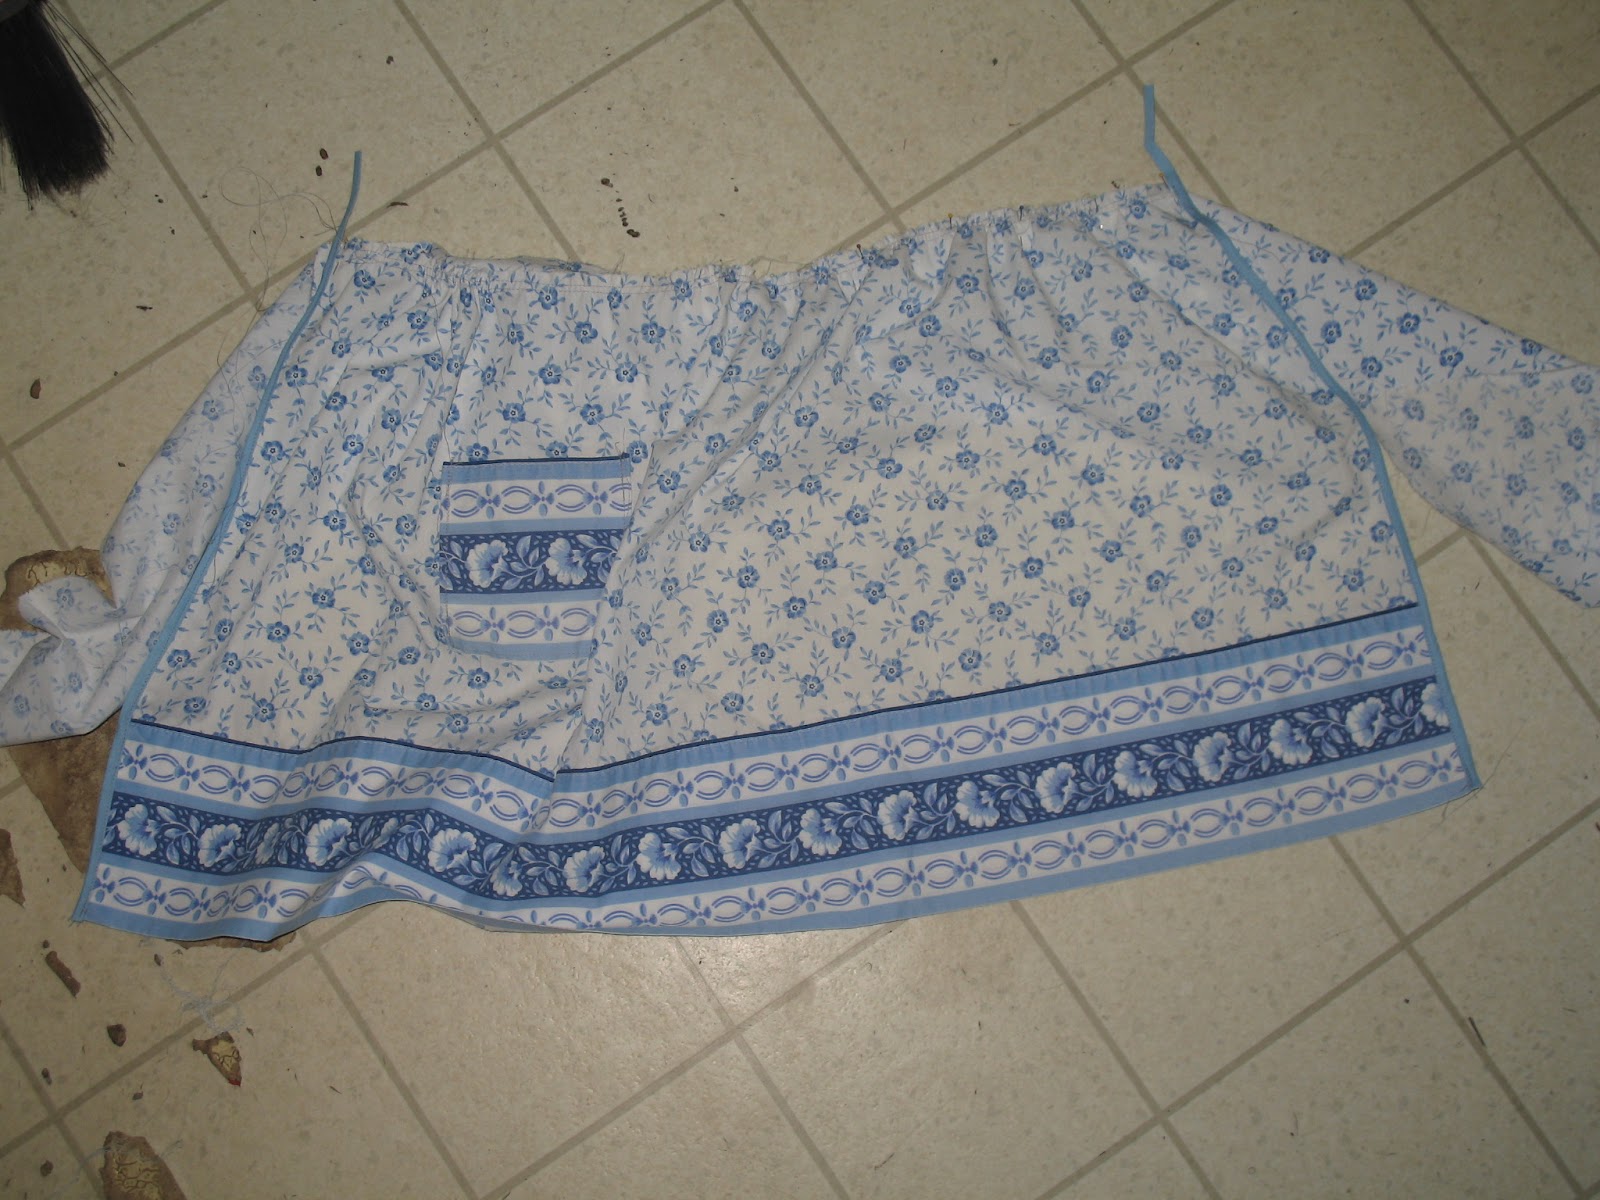
I added some bias tape down the side to pretty it up a bit. mark the center on the apron and the belt, also mark the points where you want the apron to end. I marked mine at 24 inches.
I matched my markings and gathered to fit between the end markings.

I then sewed the apron to the belt, and got out the ironing board. I treated the belt/tie like a big strip of bias tape.

Pressing as I went I folded the belt in half and tucked the raw edges under. I then ran it through the sewing machine and top stitched it all together.

The finished ties, and the two finished aprons I made.


Have fun with it, they're quick and easy and can be as plain or fancy as you like.
\
No comments:
Post a Comment