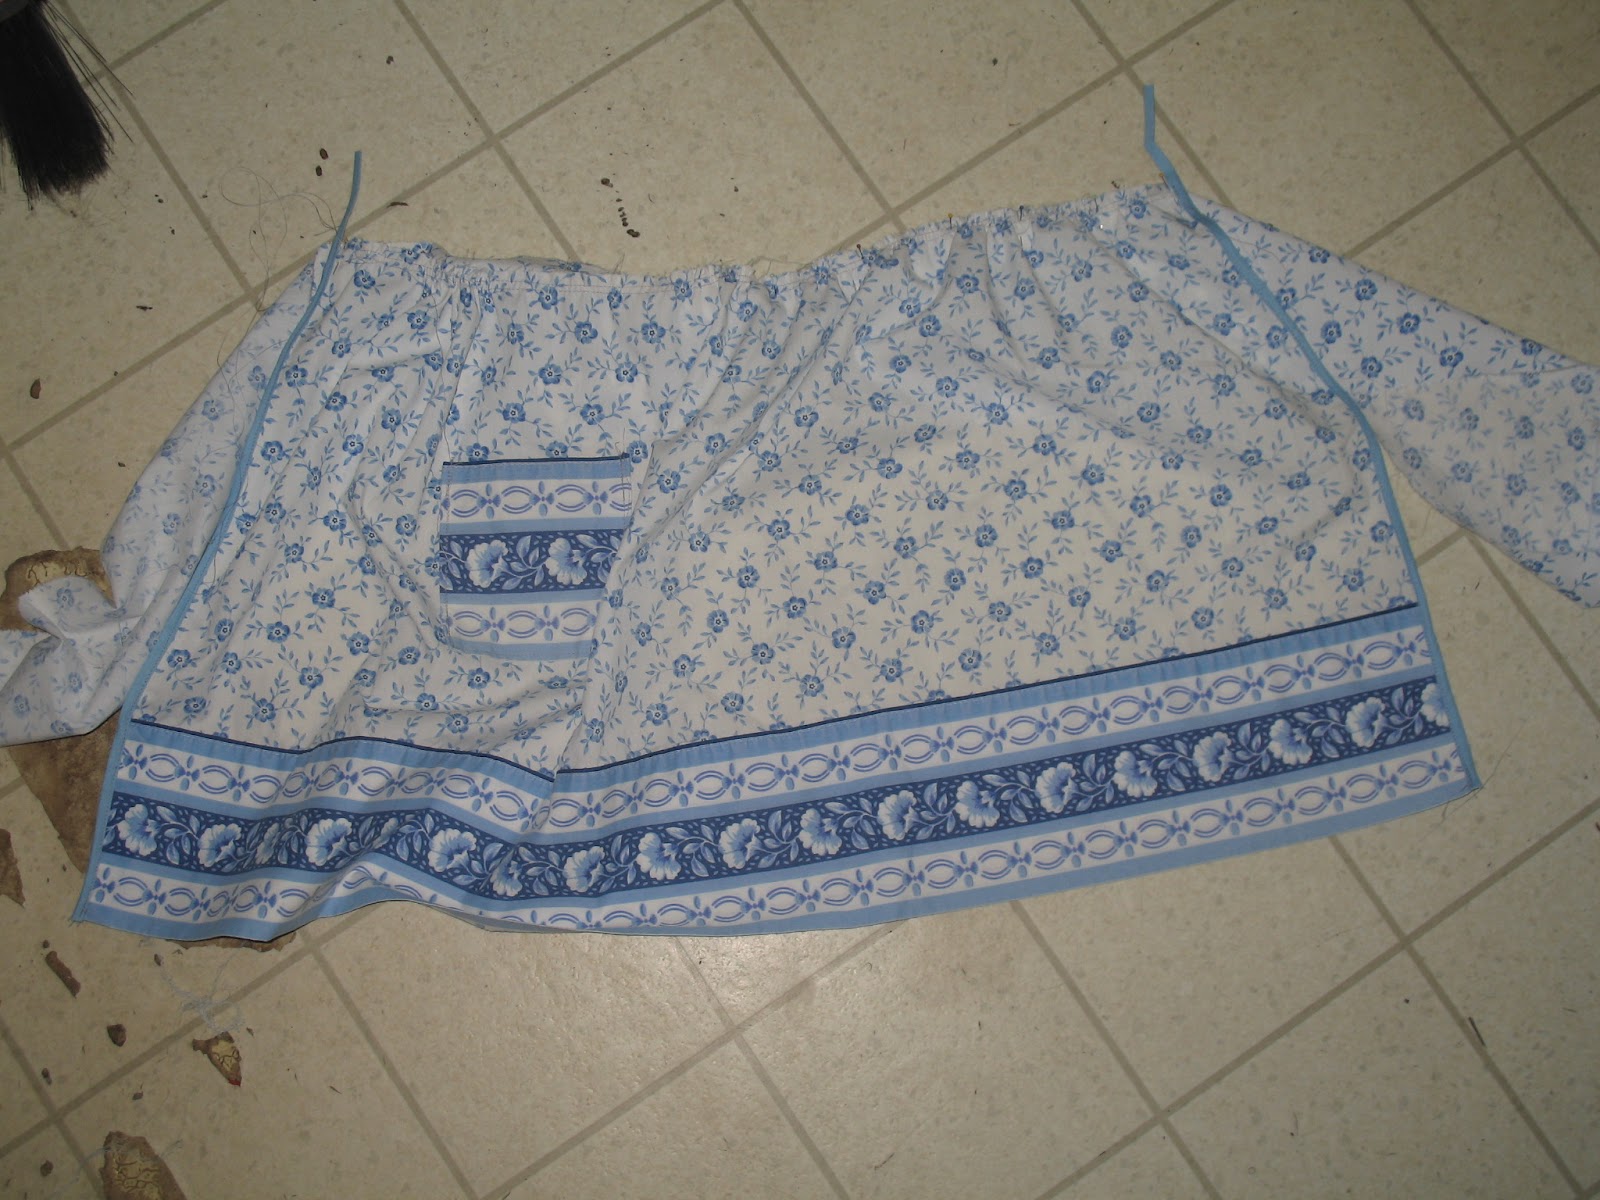
I've hemmed up the bottom so it would stop dragging through the dogs water dish and add my bias trim. I took a close up so you could actually see the fabrics I used


For bonus cookies you get a sneak peek at a future post for my rugs. :)


 Well A few days ago I decided that I need some new curtains for my sliding door in my kitchen. Of course out come my stash of old bed sheets... have I mentioned we love bed sheets round here, useful things those. Any ways I found a lovely not to bright yellow gingham sheet that was left over from a previous project, and just so happened to all ready have an opening at one end. So I rummaged through my box o' bits n' pieces for some thing to use/attach for a curtain rod. Well I found a piece of wire for lack of a better word, its a like a spring wrapped in plastic. It uses hook and eyes to attach to the wall. (yes I still need to paint my kitchen) really neat stuff pretty cheep for a package it too. So up it went shoved the "wire" through the opening in the sheet (I split it in half to make it more curtain like) and put the eyes on the hooks and steeped back. It looked like a curtain except that it's 18 inches to short (insert head slap here!) So having other things to be doing I left them up in all there shorted glory.... well yesterday I came across some blue and white stripe..hhmm the wheels turn .. I pinned the little scrap of it to the bottom ... census says it looks pretty good, now where did I hide the big piece. After a little digging around I found it.
 I tore two strips off big enough to accommodate seam allowances and hems, and finished one edge to line up with the finished edge of the sheet, and sewed it onto the bottom. I then made some big bias tape for the unfinished edge. There is a good tutorial here.
 So I now have the blue stripes attached to my curtain, and it looks good, now I just have to add the homemade bias tape to the unfinished sides and voila one bed sheet turned curtain!
 So we need to start by cutting off the collar and sleeves. Now turning it inside out, we are going to draw out the shape of are bag, using tailors chalk, or what ever you like that will wash out. I used the existing shoulder seams as the handles on the dark grey bag, and stitched new seams on the light grey one. Mark out you pattern, you could use a plastic shopping bag for a template, make it as big or small as you like.


 4. Attach your trim of choice to the right side of your pillow, making sure that it lies to the inside. (sorry I forgot to take a pic of this step)