Wednesday 30 May 2012
Rag Rugs
DIY Explorers Play Tent

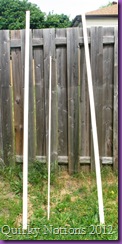
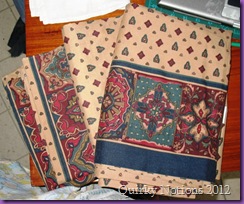
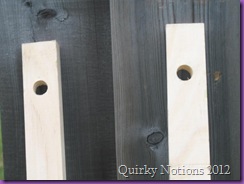
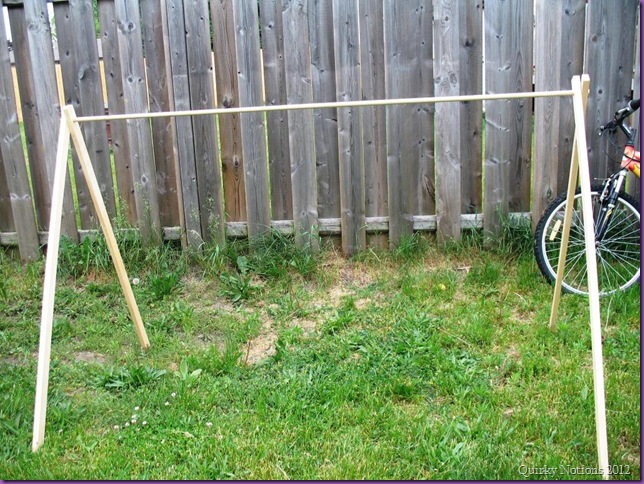
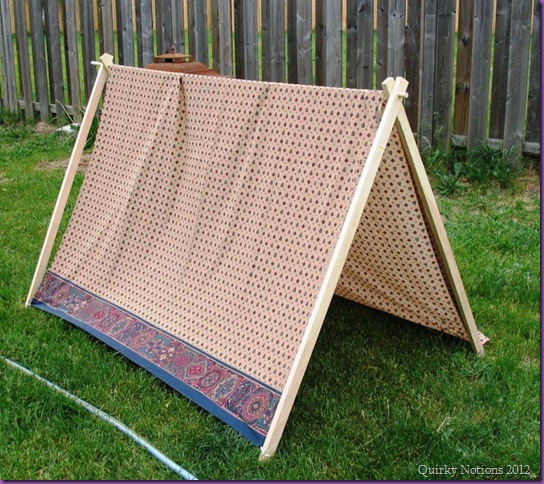
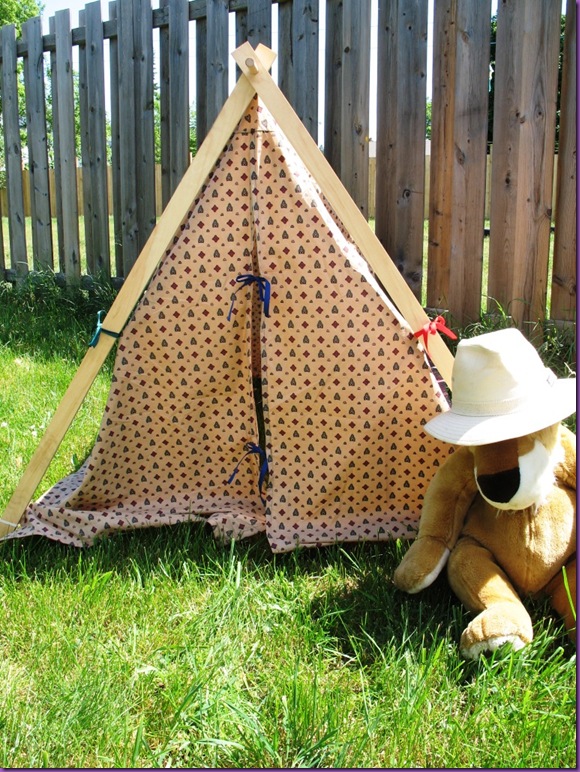
After seeing the play ten tutorials on on Pintrest I thought I would give one a try for my little man, and it give my hubby some thing to channel his energy into. So we went out to the hardware store for some supplies. What we came home with was 2 – 1x2’s that were 8 ft long and a 5/8 inch dowel. When we got home we raided the linen closet, yet again and pulled out this twin sized sheet set. It kinda reminds me of the turn of the century explorers (i.e.. Indiana Jones) or an African safari.
Tuesday 29 May 2012
Pimp my ... Cart ??
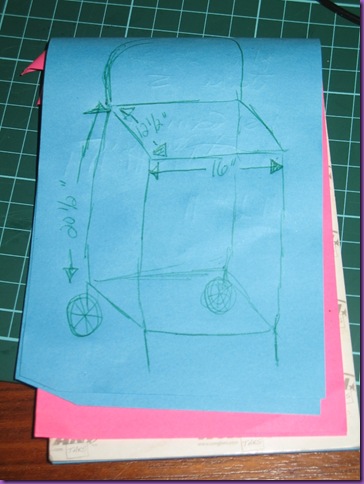
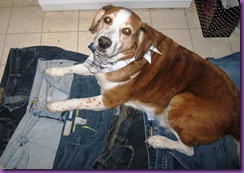
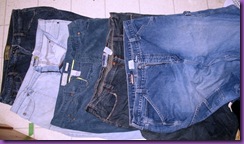
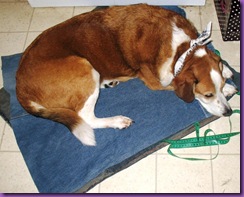
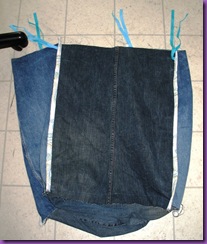
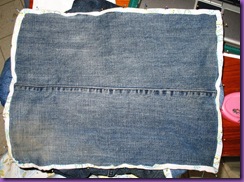
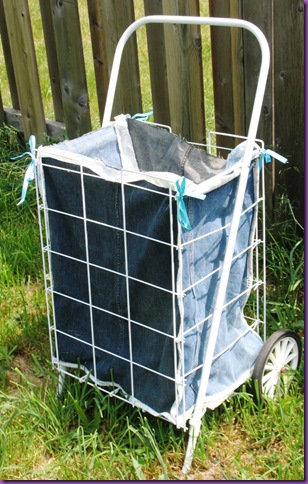
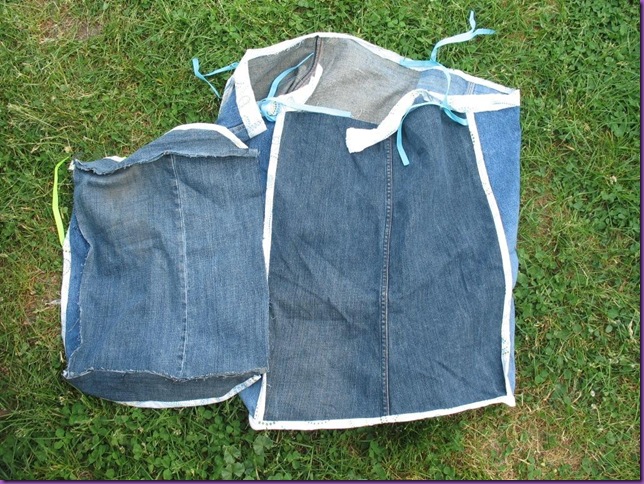
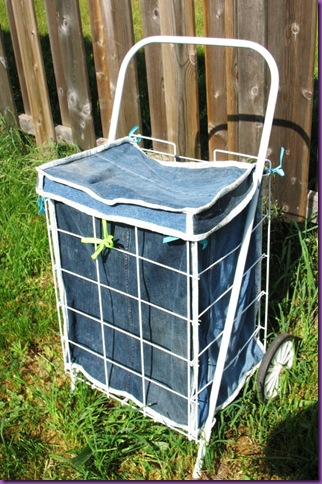
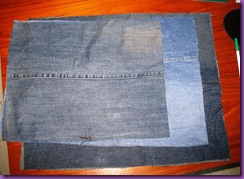
Well I’m feeling a little crafty again, and with the Wing Ding (community garage sale) coming up I thought it was time to spruce up my shopping cart. The big problem I’ve always had with these carts is that the holes are so big you lose you bag through them, and well lets face it how snazzy is a cardboard box in the bottom (if you can find one to fit). So here is the game plan … I ‘m going to use some old jeans to make a liner.
Monday 28 May 2012
$5 Sundress

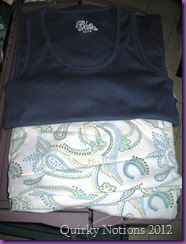
This was a supper fast and easy sundress to make. I got a cheep tank top, it was only $4 from the the local department store, and an old bed sheet from the closet.
The first thing you do is decide where you want your waist line to be, I did mine at more of an empire waist line (I find it more comfy not to have things floating around my natural waist). So I put on my tank top and marked where I wanted the waist line. Take it back off and cut along your markings, remember to leave a seam allowance. The next thing was to cut the sheet to the length you want the skirt and sew the it into a tube. Run some gathering stitches around the top of the skirt.
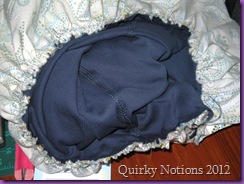
Now pin the skirt to the tank top, and gather your stitches to fit. On my waist band I also added a 1/4 inch wide elastic for a little extra give. I’m notorious for tripping over skirts and closing them in doors and stuff. Run it through the sewing machine, and then turn it right side out. This dress only used about half a queen flat sheet, and I used the finished edge around the bottom so I didn’t have to hem it up. It cost less then $5 in materials and is really comfy to ware.
Tuesday 22 May 2012
Home Made Pasta Sauce
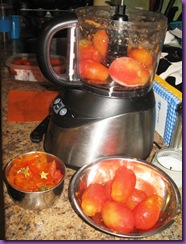
 So this is the first time I’ve made pasta sauce, but with 20 pounds of tomatoes in my freezer from last fall its time they got sauced. As mentioned before I’m not one for instructions…. so I got out 2 bags of frozen tomatoes (theses are the large ones each bag holds about 4 lbs). Now I removed the skins from my tomatoes, which is really easy seeing that they are frozen, all you have to do is let them sit in warm water for about a minute cut your top off and the tomato will pop right out. I had to let my tomatoes thaw a bit, my pour food processer couldn’t keep up with them frozen solid. So when they were a little less frozen I sent them for a whirl, I made it pretty smooth the kids don’t like there food chunky. I also snuck in 2 cups of zucchini, some onion, a couple cloves of garlic, and a couple good sized carrots. What they don’t know wont
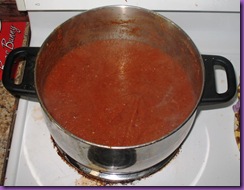
  hurt them :) Now into the pot it goes! add what ever spices you like to taste, I added thyme, oregano, rosemary, basil, pepper, and a little bit of red pepper flakes for a little kick, I also added a little brown sugar to sweeten it up a bit. I let it simmer on medium/low for almost 2 hours, this is how long it took for all the naturally occurring water in the tomatoes to evaporate off. Don't forget to stir often you really don’t want to burn it. I left my sauce quite acidic just for the sake that I am canning it, when I go to use it I will add more sugar. So when I was happy with it I packed it in my clean hot jars, leaving 1/2 an inch head space,(don’t forget to remove the air bubbles and clean the tops of the jars) put the lids on and returned the jars to the boiling water in my canning pot. They need to boil for 35 – 40 minutes. For this batch I managed to fill 5 - 500mL jars. Well the jars
  are bubbling away do up you labels, don’t forget to add the date it was made, or it may turn into one of the mystery jars in the back of the cupboard.
 Now when it comes to canning there are a few rules you must follow from the recipe the amount of acid and the length of time to process in the water bath. (For the amount of tomatoes I used I added a 1/4 cup of lemon juice) If you’re new to canning I would would recommend following a recipe / canning instructions. There are tons of good books out there, and you can borrow most of them from the library for free :) I own the Blue Ribbon Preserves by Linda Amendt. And Google, I love Google

Honey-Do list update
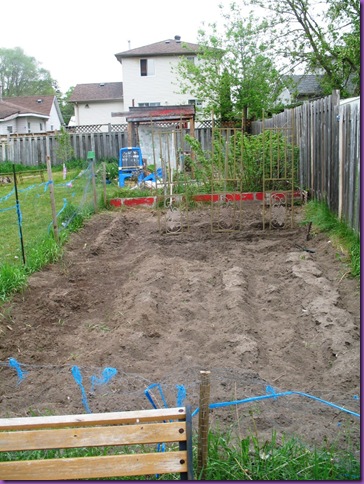
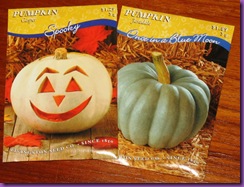 Well not every thing got done that was on the list over the weekend, it wound up being really nice and to hot to do to much around the house. But the garden is about half planted, the lawn is mowed, and the pool is fully operational and was actually used (the water is only 15 degrees C bburrr). The family had there priority on the pool so it was the only thing that got done in its entirety. So I keep plugging away at the garden and it should be done by the end of the week, which is good for me, I usually don’t have it done in May. Today I got my white pumpkin seeds and as a bonus I found some seeds for the jade pumpkins(they’re a blue/green colour), and the tomatoes and peppers to pant too. Now I have to work though all the tomatoes, zucchini, and raspberries in my freezer, so I can make room for all of this years garden vegg. I’m working on a batch of spaghetti sauce right now I've never made it so we’ll see how it goes.

Pool After (with it’s shiny new cover)
Friday 18 May 2012
The Honey-do List

Today I decided to post something a little different. I’m taking a little break from sewing this week to work on the household honey-do list. I have bunch of little projects to do around my house that have been sitting around for a long time (years in some cases). There is a cupboard to go up in the bathroom, and I would like to paint my towel rack that the previous finish is coming off of. And this is garden weekend here, I have my potatoes to go in the garden, and we are going to plant the pumpkin patch and get some of the other vegg in.
And there is the pool (I use the term loosely 10 ft round & 2ft deep) to be cleaned (yuck), set up and ready to go … with the temps getting up there its time to get R done.
So I’ve spent most of my week in preparation for getting some stuff done around the house, like getting gas for the lawn mower, getting the garden supplies, and all the hardware and paint for some of the bigger projects.
 I will post some before and after pictures of some of the projects as I go.
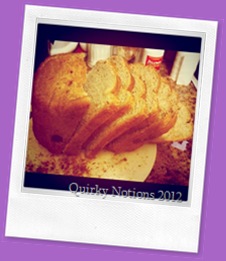
I’ve done some little things like knitting up some washcloths, lot of baking before it gets to warm this week, but nothing to exciting.
Tuesday 15 May 2012
Regency Bib Front Dress part V
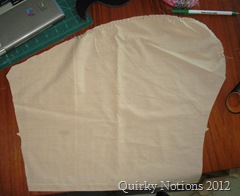
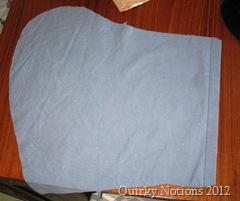
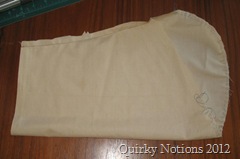
Well I’m not as far along as I would like to be but alas I have good news for this post … I have fixed my issues on the sleeve, yah!! I redrafted the sleeve over the weekend so today I cut out a mock up of the new sleeve and took it for a test drive, I could move my arm in all the directions its supposed to move in, it didn’t pop any seams this time and is rather quite comfy.
Pictured below is the new sleeve shape in the mock up fabric, and a picture of the final before the pin tucks were done.

Thing that still need to be done on the dress…
I need to finish stitching the side openings, baste the bib to the skirt, find some thing to use for the dress ties, place the loops for the ties on the back of the dress, and buttons for the bib. And then once its all basted together I make sure it fits and run it through the machine.
The Faux Feather Pillow
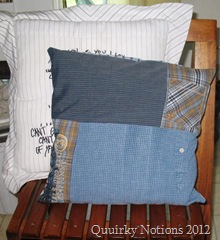 Well I wanted to make some throw pillows but I have no “fluff” to stuff them with, so the creative wheels turn. I have a bag of snippets that was getting quite full, it’s been hanging next to my sewing machine for about a month now. Usually I would throw it out when the bag was full, but this time I thought I would use it to stuff my pillows. Will surfing the net I came across a tutorial for how to make stuffing from Belrossa’s Blog. Now having reed through the post to find she ran her bit through the blender. /Now I was forbid running any thing that is not food through my blender, I just cut my bits into really small little bits (some thing the little people could do to, they like to help when it involves taking things apart.)

So here is a picture of my tub o’bits. Now to contain my bits and pieces I used an old t-shirt as the pillow form. All I did was cut a square (mine was about 14in. sq.) and sew three sides together. After the case was about 2/3 full I sewed up the last side to keep all the '”fluff” in.
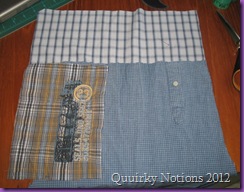

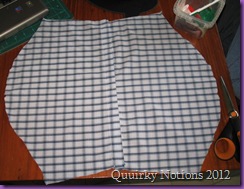

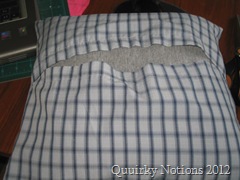
The next thing I did was to put my Backing piece over the front pieces with right sides together, and stitched all the way around. I then trimmed all the excess of the edges and prettied it up and turned it right side out. Now your ready to slide you pillow form into its cover and voila a Faux feather pillow. I find that the squish of the snippet fluff mimics a feather pillow with out the pointy hard feather bits poking you in the head.


